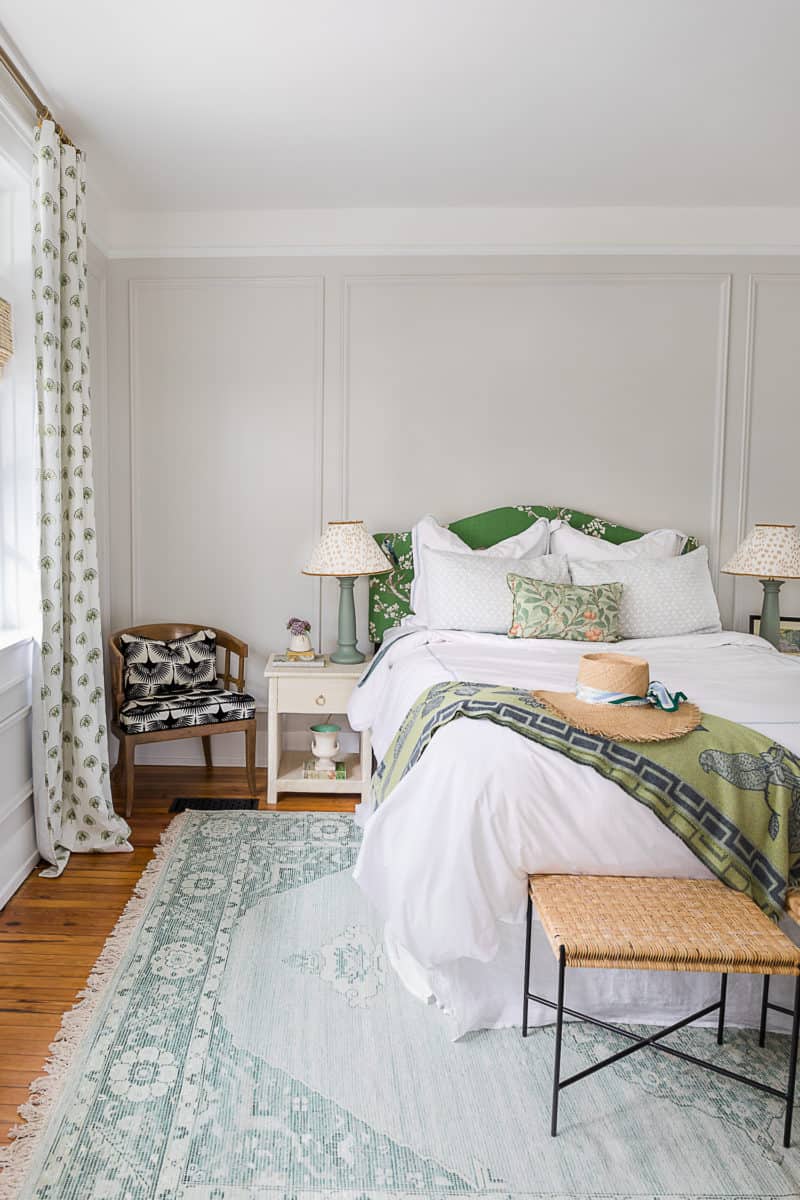
I don’t know about you but I love bringing new life into old things (re: my obsession with estate sales and all of the furniture I’ve refinished). When I found these lamps at an estate sale for $10 apiece, I knew that I could transform them into something beautiful with the addition of this Brunshwig & Fils fabric and some velvet ribbon. In an hour and a half, you can learn how to cover a lampshade with fabric in this easy fabric-covered lampshade DIY tutorial. These were the perfect finishing touch for my guest bedroom transformation for the One Room Challenge.
For this tutorial, you will need a lampshade, a hot glue gun, some velvet ribbon ( I used 3/8″), 1 yard of fabric (I used Les Touches from Brunshwig & Fils), and some patience.
How To Cover a Lampshade with Fabric
Step 1: Cut your Fabric
The most important thing is the cut. When you’re creating a cone-shaped circular cut it’s imperative that you get the angle right for a good fit. To achieve this, start with the seam lined up on the edge of the fabric and then roll the lampshade while tracing with a pencil until you reach the seam again.
The key is not to cut on this traced line!!! Instead, cut about 1-1.5 inches around this line so that you have space to tuck the fabric under the edge of the lampshade.
If recovering two lampshades, use your first cut to trace and cut the second lampshade on the fabric. If using a patterned fabric, be certain that the fabric is oriented in the same way as the first cut so that the pattern matches.
Step 2: Dry Fit the Fabric to the Lampshade.
Line the seam of the lampshade with the edge of the fabric and “dry fit” the fabric around the lampshade to ensure a good fit. We want the fabric to overlap the seam all the way around.
Step 3: Attach the fabric to the top with hot glue.
Starting at the top where the seam starts with a hot glue gun, press and adhere your fabric onto the top opening. As I did this, I cut little slits at the top to be able to stretch and press the fabric into the top. Be certain that you have enough hanging down on the bottom of your lampshade to cover the bottom edge.
Step 4: Secure the top all the way around to the seam. Make sure that the fabric seam overlaps.
Step 5: Attach the fabric to the bottom with hot glue.
Start at the seam at the bottom and add hot glue to the base while pulling the fabric as taught as possible. The tighter and straighter the fabric is, the better the fit to the lampshade will be. Repeat in small sections around the base of the lamp until you reach the seam.
Step 6: Secure the seam.
Take your fabric where it meets the seem and fold lightly over itself, then hot glue the seam from top to bottom, pressing firmly.
If adding velvet trim, continue to step 7, if not skip to step 8.
Step 7: Start your velvet trim at the seam and secure it with a dot of hot glue.
Using your thumb as a guide for the edge, add hot glue and press your ribbon up against the edge, and press with your index finger. Repeat all the way around the circumference and then cut the ribbon to meet the seam edge. Repeat for the bottom edge.
Step 8: Tidy up the interior.
Tidy up the interior excess fabric by securing with more hot glue and trim any hot glue strings that may have come off in the process.
I hope you found this fabric-covered lampshade DIY tutorial helpful! If you need additional clarification, don’t hesitate to reach out or leave a comment below.
Watch the full video tutorial here on Instagram.
If a fabric-covered lampshade DIY is not your thing, you can shop some done-for-you options below.