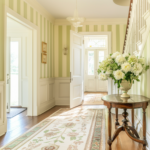
Supply chain issues!! My favorite reason for why this post is so beyond delayed from my other One Room Challenge posts – which due to my infrequent blogging updates I will also blame on supply chain issues… But in seriousness, as I stare down the sun-strewn guest bedroom from my office chair, I’m so proud of how the project turned out I could burst. As a reminder, if clicking back to my inspiration post poses too much effort, the inspiration for this upgrade was to add some pizzazz and make it feel like a luxury boutique hotel bedroom. How’d I do?
I will say, this was a relatively easy transformation. The panel moulding (or picture frame moulding) was not nearly as difficult to install as I had thought. I’ve seen people do this with hand-held tools and I think they may be insane. I used a miter saw and this took nearly a day to cut and install all of the pieces. I’m not going to go into detail on how to install panel moulding but I will say there are a few imperative things to pay attention to as you install it:
- Get the right 45-degree cut and make sure you don’t jip it on the length.
- Always start installing on the top rail first, make sure it’s level, then use a right angle level to install the sides and the bottom piece.
- Use gorilla glue adhesive over construction adhesive. The gorilla glue holds better.
- A battery-powered nail gun is essential to easy install.
- Fill your nail holes before painting.
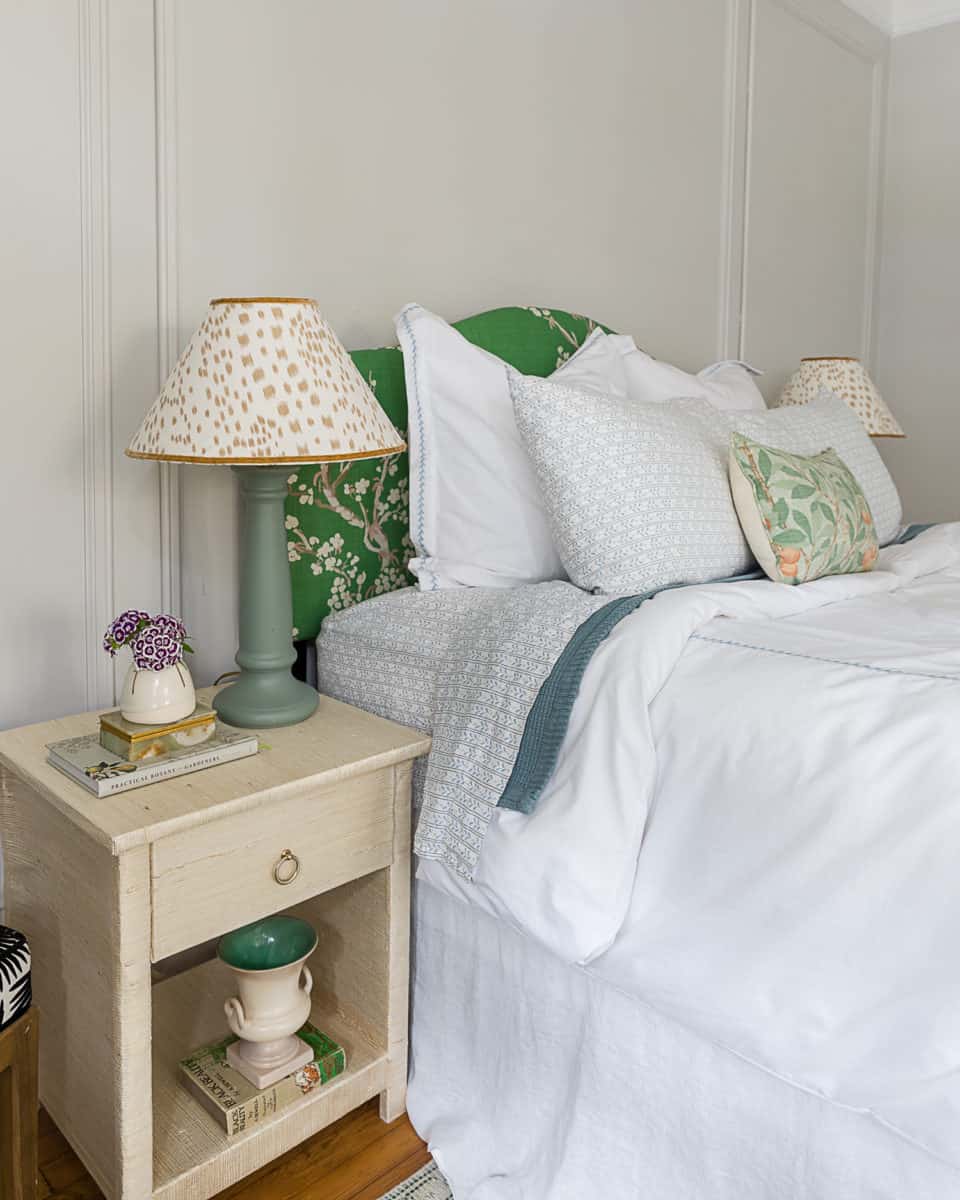
The two DIYs I did for this room were recreating my dream raffia end tables and reviving a Facebook Marketplace chest of drawers. Ever since I painted my office IKEA furniture, I’ve gotten really good about refinishing furniture.
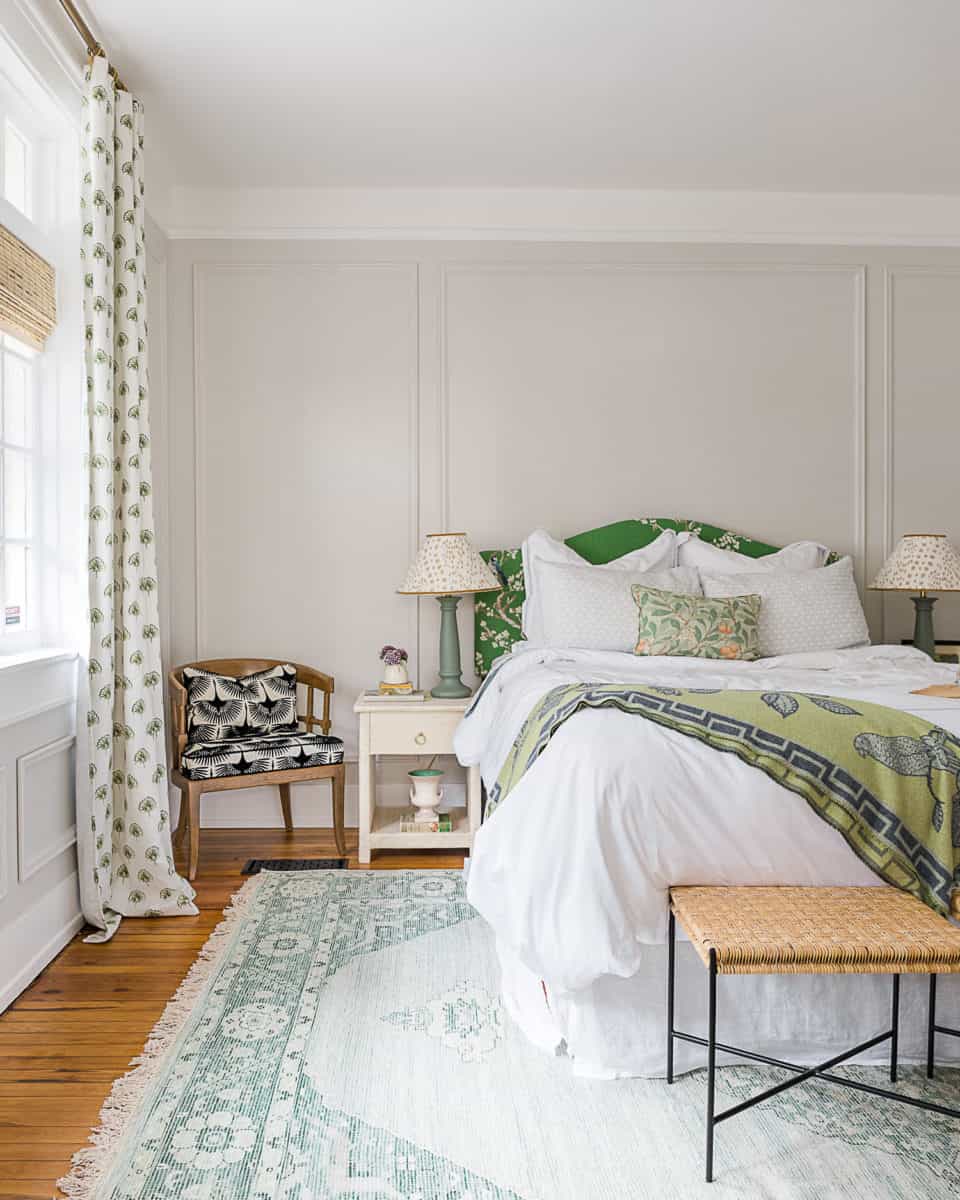
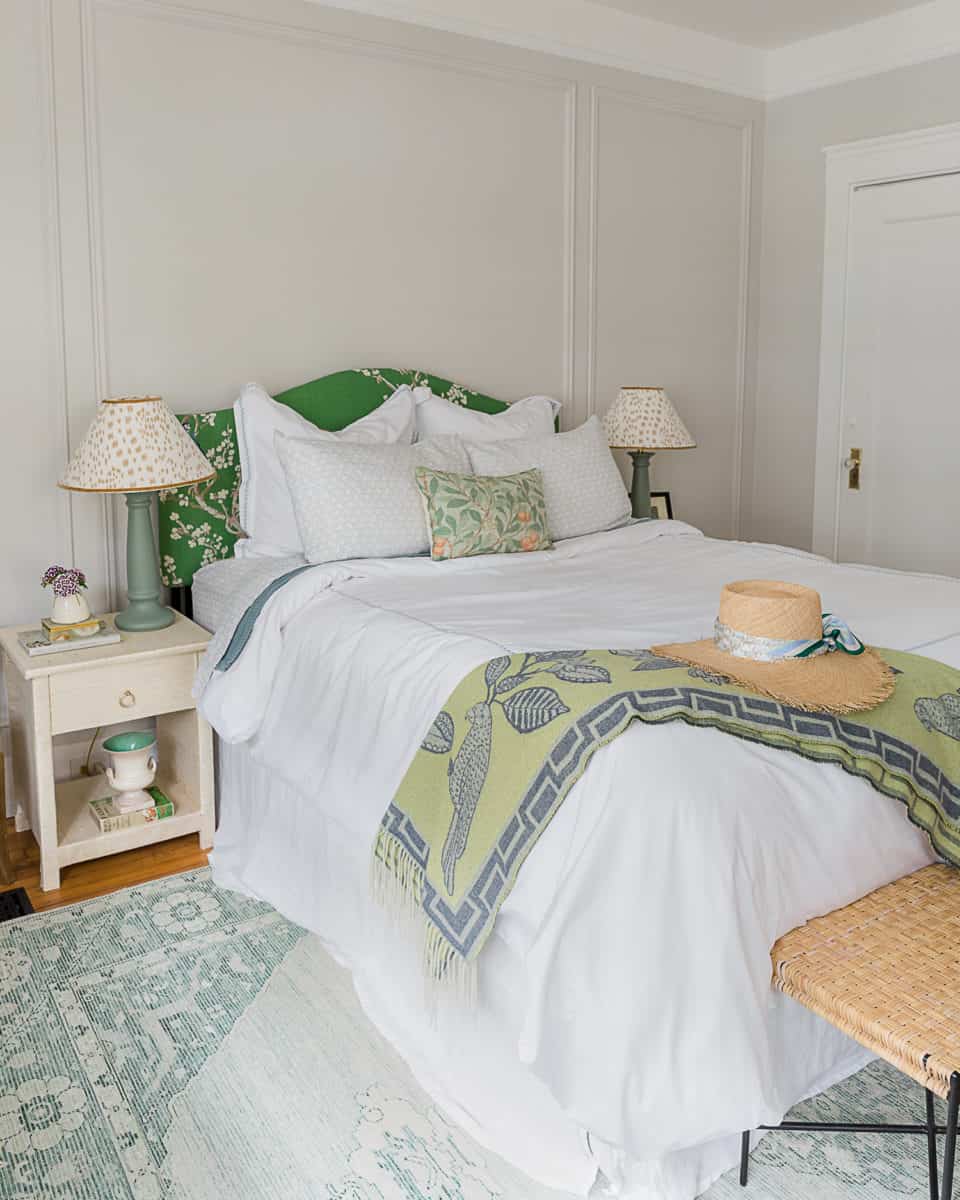
I think the rug really makes the place. After ordering the wrong size (note to all, a 5×8 absolutely does not work for a Queen bed), this 8×10 rug really tied it all together. And, as I’ve warned you all here, it’s made of natural fibers so it won’t choke the wood floors.
In my last apartment, I had rug commitment issues, but now I have art commitment issues. This room is still lacking the following:
- art
- properly matted art
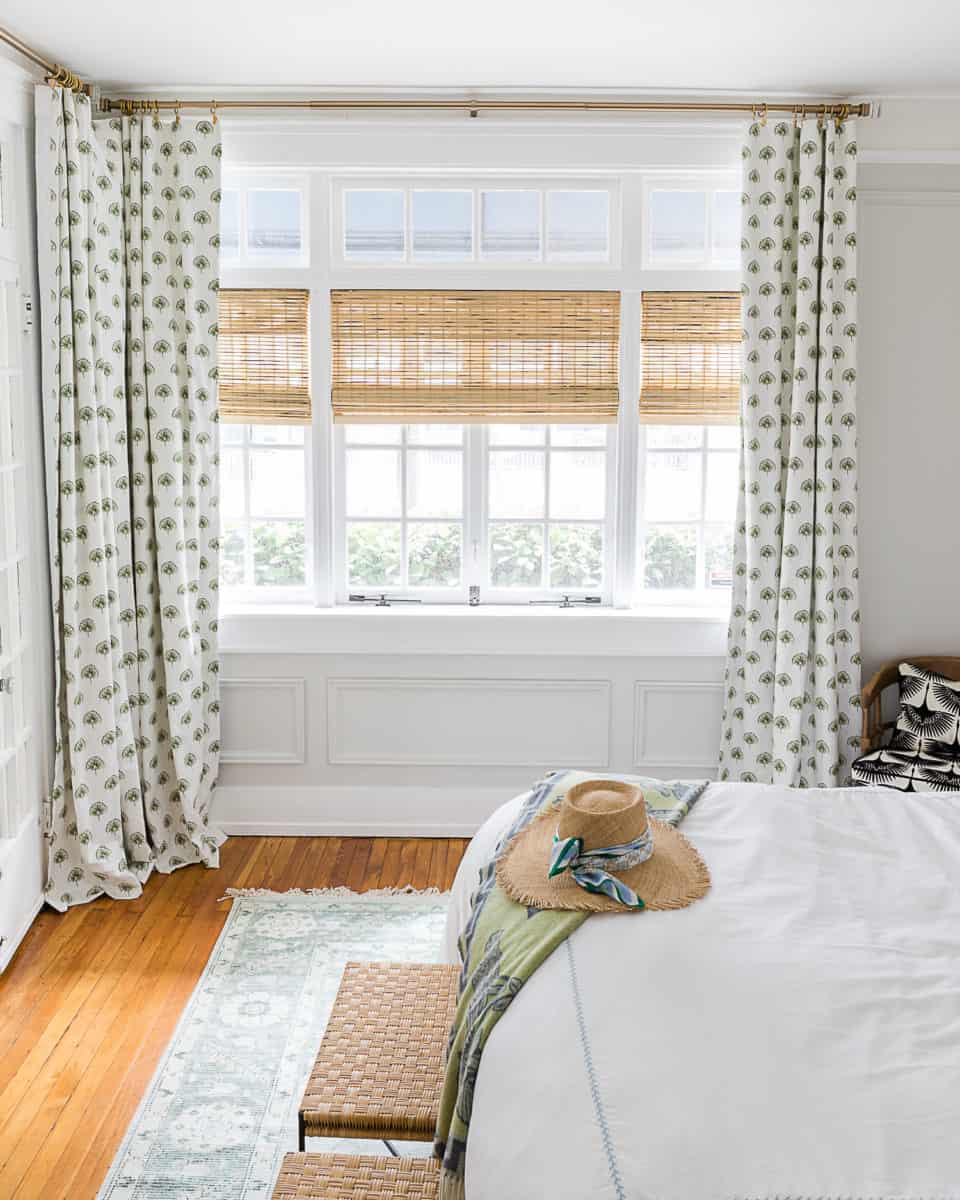
- the final curtains from Pepper Home
- current era lampshades covered in my Brunschwig & Fils fabric
I’m not in a hurry to fill the walls up with art that I half love, so this will continue to be a work in progress.
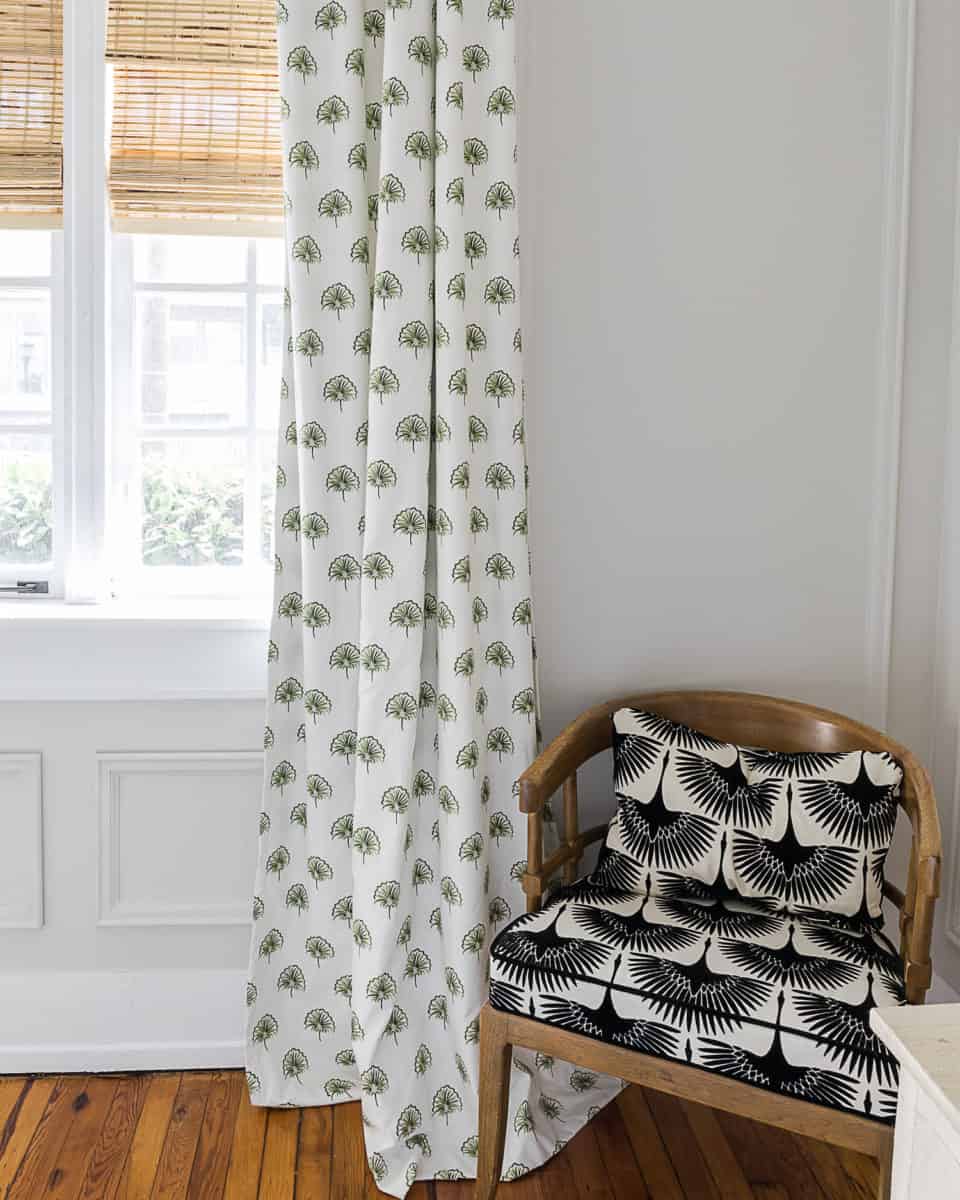
I’m grateful for the people who helped contribute a few textiles to this project, Garnet Hill for these sumptuous linens, The Inside for the amazing headboard, and Pepper Home who (after a whirlwind of supply chain issues) have finally been able to get me my Penelope curtains in Sage.
Links for everything in this room are below.
Headboard in Jade Cherry Blossom c/o The Inside. Use code “RUFF50” for $50 off your order
Duvet Cover, Sheets, Blanket, Bed Skirt c/o Garnet Hill
Lamps Sourced from Estate Sale Recovered via this tutorial
Nightstands DIY with Raffia Wallpaper
Chest of Drawers DIY with Cloud Cover by Benjamin Moore
Hardware on Chest of Drawers & End Tables
Art by Carrie Courey Designs, Frame sourced Vintage
Penelope Curtains in Sage (c/o)
Chair vintage sourced covered in Genevieve Gorder’s Velvet Crane